Resources
Artwork preparation
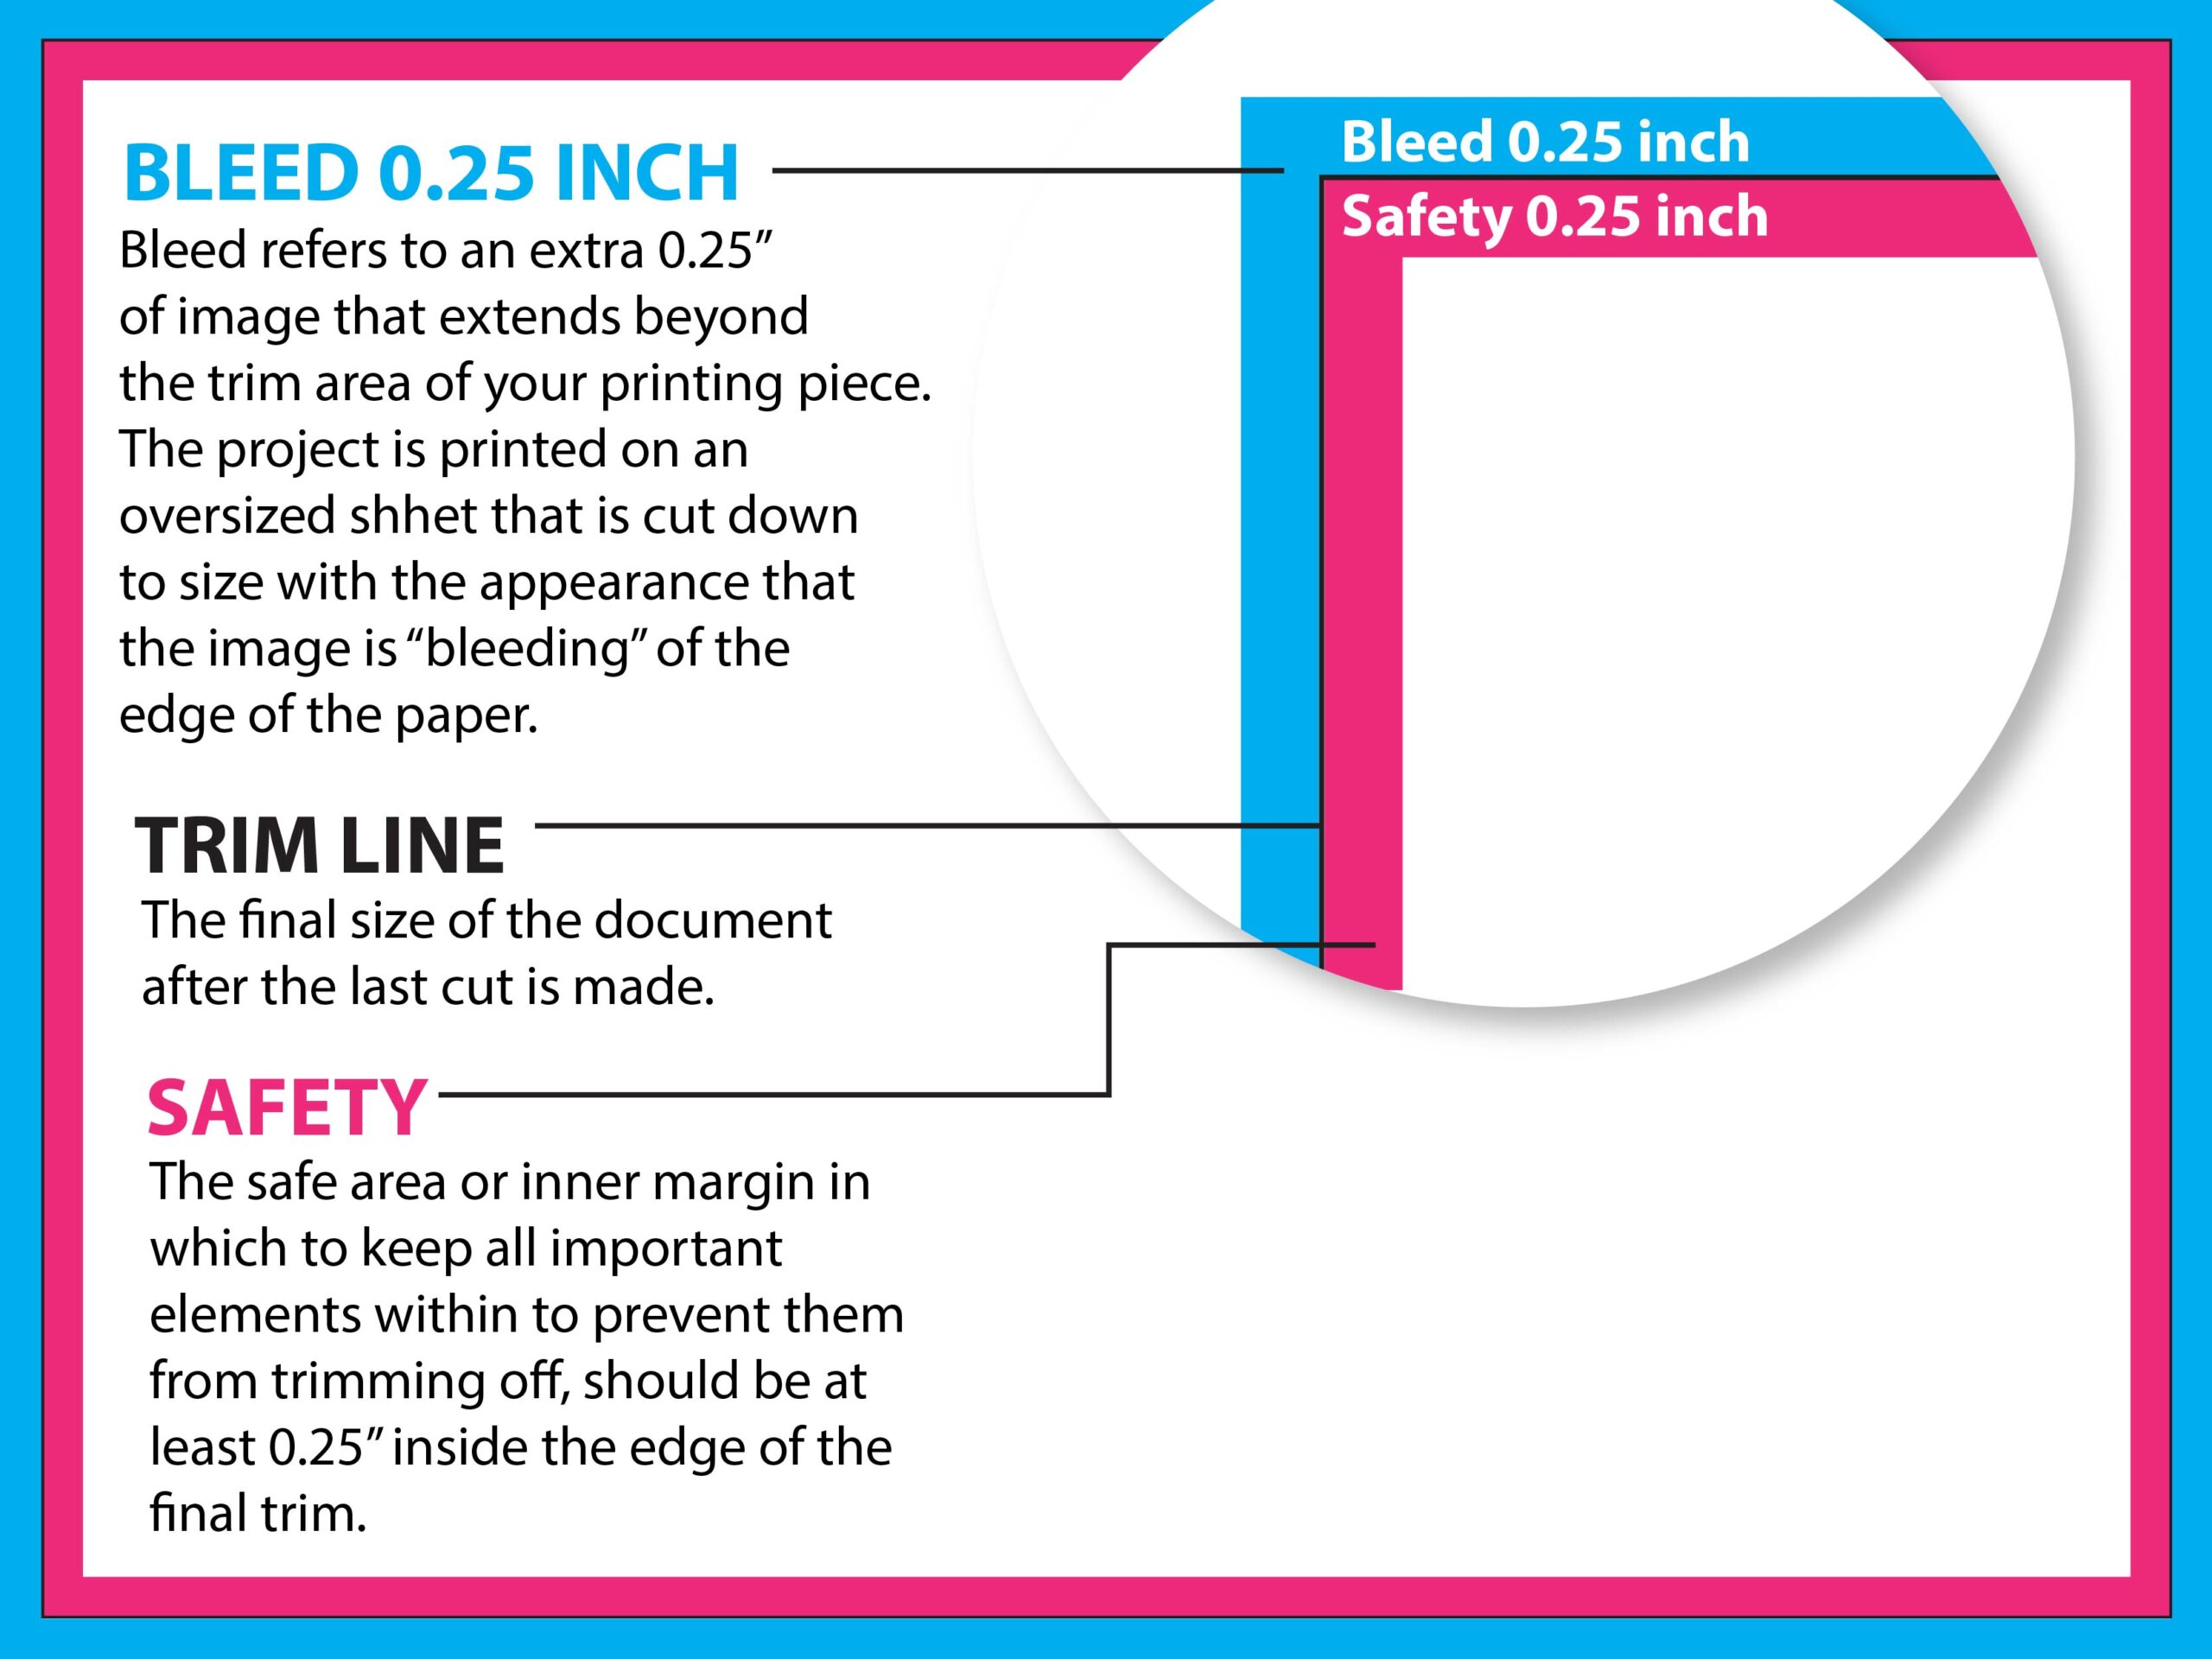
Bleed size 0.25 inch All around
Cut Line 0.25 inch all around
Bleed
refers to an extra 1/4” (.25 in) of image or background color that extends beyond the trim area of your printing piece. The project is printed on an oversized sheet that is then cut down to size with the appearance that the image is “bleeding” off the edge of the paper.
Trim Line
The final size of the document after the last cut is made
Safety
The safe area or inner margin in which to keep all important elements (such as logos and page numbers) within to prevent them from being trimmed off. This margin should be at least 1/4”(0.25) inside the edge of the trim line.

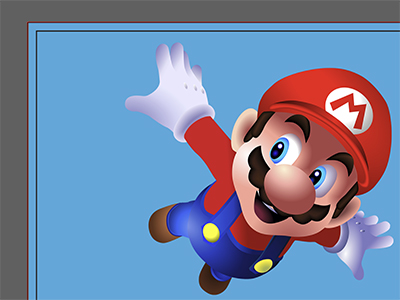
Correct bleed during design
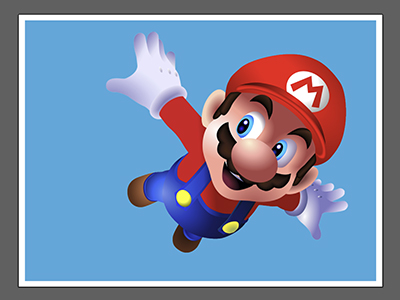
Printed version with correct bleed


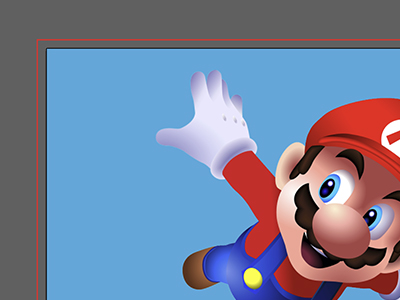
Incorrect bleed during design
Printed version with incorrect bleed


InDesign: InDesign is best suited for print. You can up set both bleed and margins in the “Document Setup” box when creating a new document. Simply bring your bleeds and margins up to 0.25 inches for top, bottom, inside, and outside. Your document will have visible lines for you upon creation.
Illustrator: In the initial “Document Setup” window, set your bleeds to 0.25 inches for both top, bottom, inside, and outside. You cannot set up margins in Illustrator, so you will have to use guides once your document is open.
Photoshop: This one is a little more tricky. You will have to add ¼ inch (0.25) to your final document size in order for your photoshop document to account for bleed. For example, if your document is 8.5” x 11” then you will need to set the document up in Photoshop to be 8.75” x 11.25”. The edge of your page will be where you need to extend all bleeding images and graphics to. You can use the rulers to create guides for your trim and safety margins.
Publisher: Publisher is pretty similar to Photoshop when it comes to bleeds. To set your document up to bleed, simply add 0.25” to your document size in the Page Setup window.
Word: Unfortunately, you cannot set up a full bleeding document in Word.
